A preset is a pre-set rule that can be activated and deactivated with one click, once setup. This is useful if you wish to, for example, have an "emergency" route that you can activate very quickly and turn off when needed.
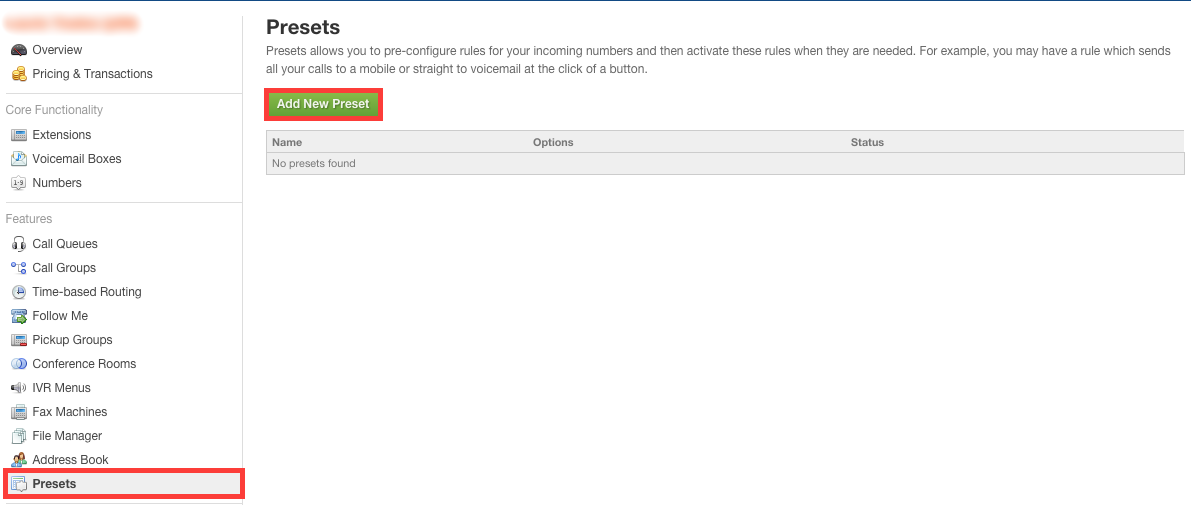
To create a preset firstly log into the control panel and select "Presets" from the left hand menu. Once on the presets page click "Add New Preset".
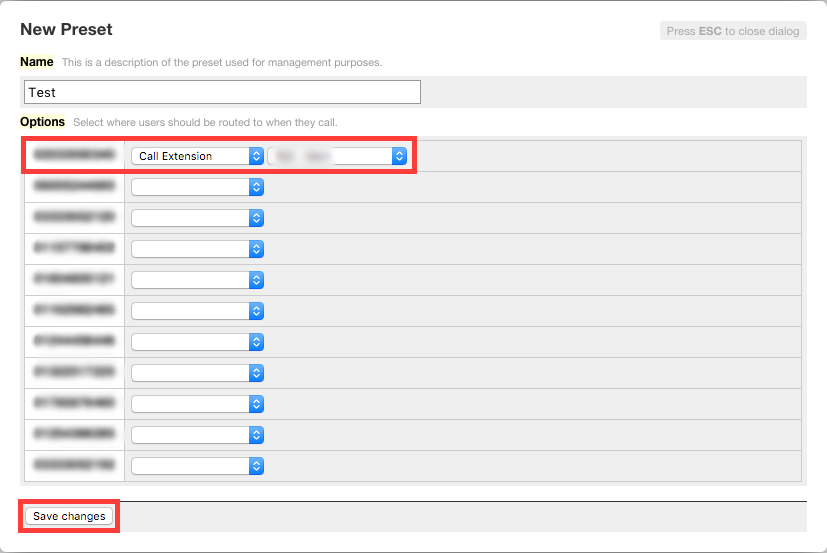
Once on the add a new preset menu you will see a list of numbers active on the account. Next to each number you can select the action and to where the action goes, for example you can select "Call Extension" and then select the extension that number goes to. Once you have selected the route than click "Save changes".
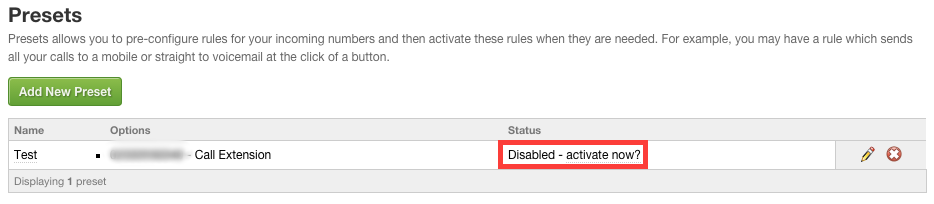
Once you have added the preset, it will appear in the preset list and you can activate/deactivate by clicking the "activate/deactivate now?" option.