Once you have connected the base station and registered it with the handset (instructions on how to do this can be found within the manuals of both devices) you will be ready to configure the device for use with VoIP.
To do this you will need to know the IP address of the base station, this can be found by pressing the button on the front of the base station and the IP address will be displayed on the handset. Once you have the IP address type that into the address bar of a browser and press enter. This will bring you to the logon page of the web interface.
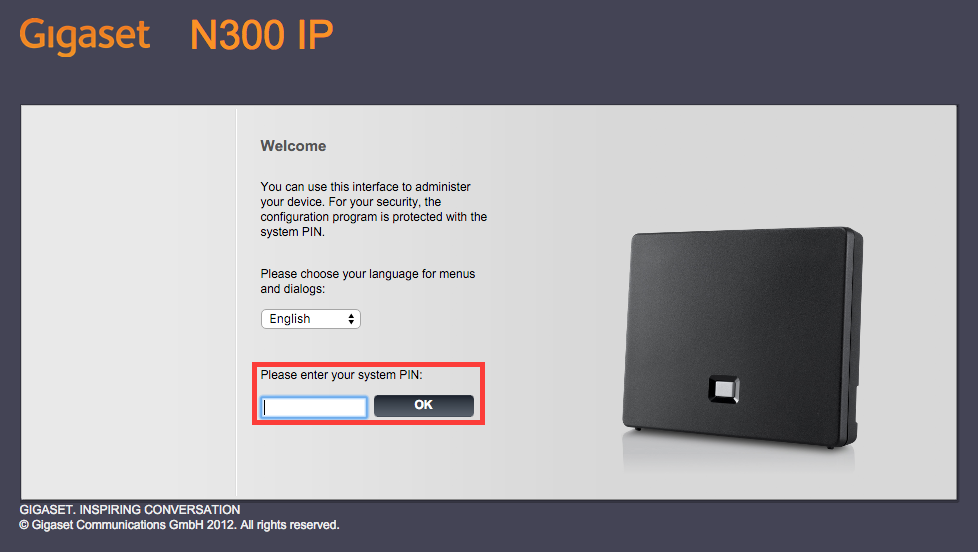
The default system PIN is 0000. Once you have entered this and gone to the next page you will receive a warning advising you to change the system PIN, unless you have previously changed the system PIN or opted for the “Do not show this security advise again.”.
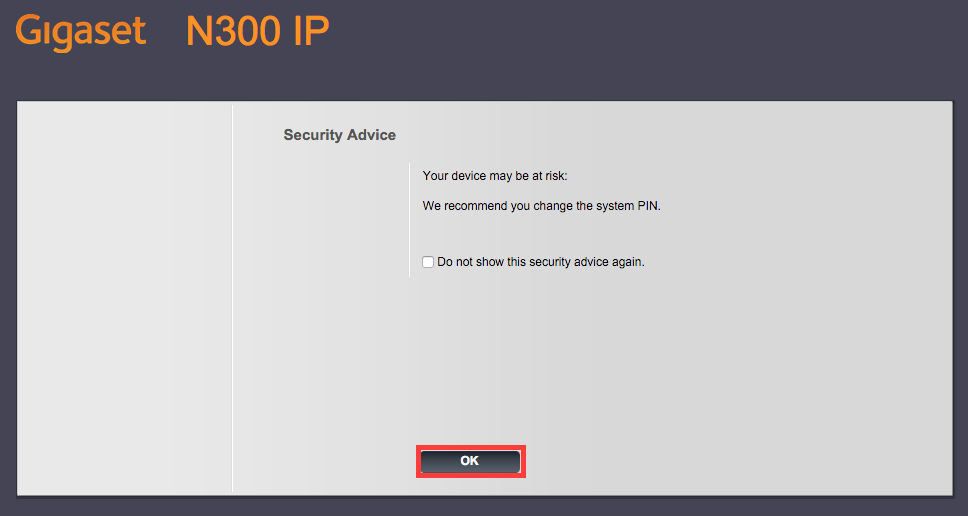
After clicking “OK” you will see the homepage of the web interface. Select “Settings” from the tabs along the top.
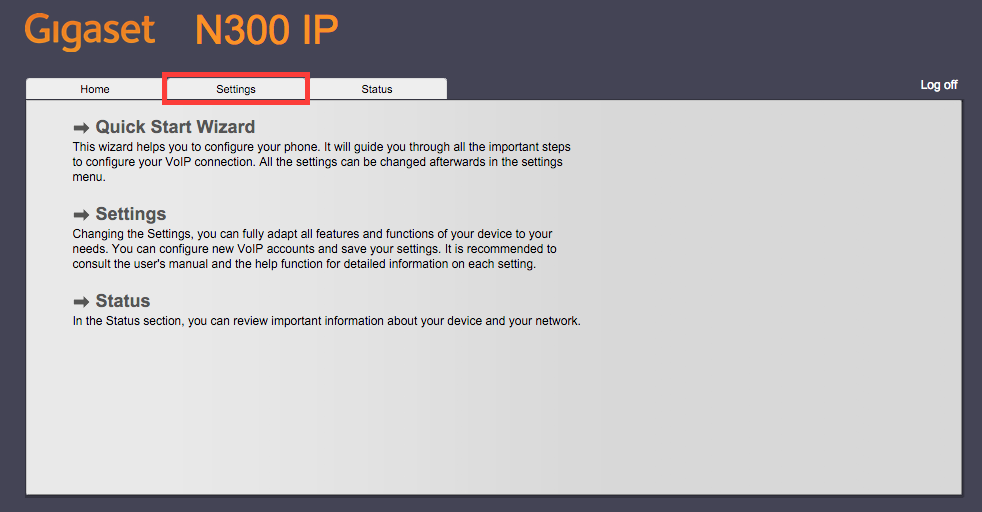
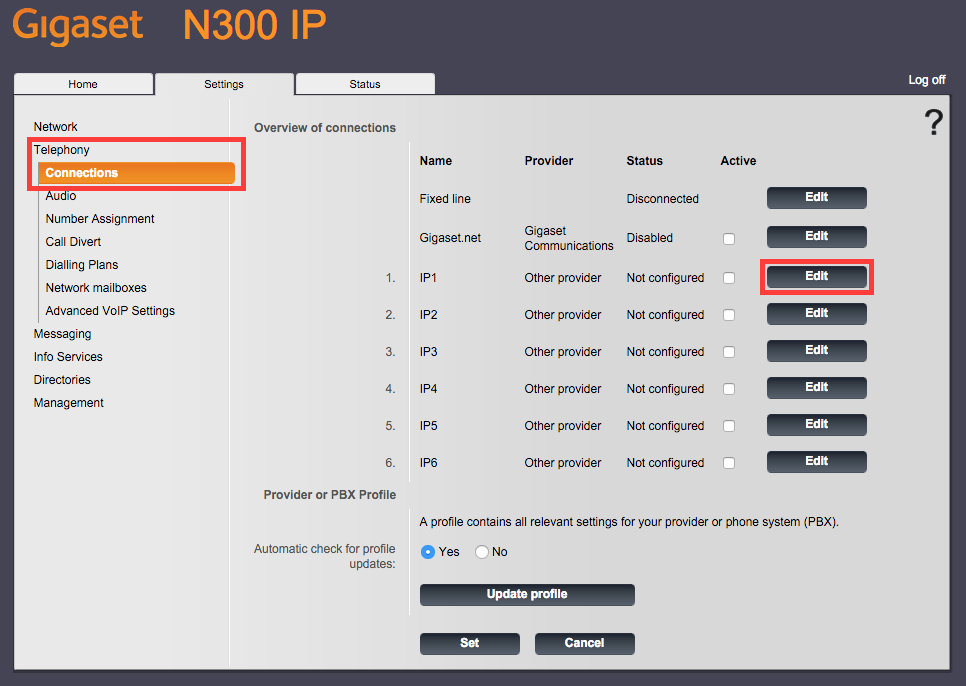
On the left hand menu select “Telephony” and then “Connections”, you will then see the overview of connections. From this menu you will be able to setup up to 6 VoIP profiles to be saved. Click “Edit” next to one of the “IPx” connections.
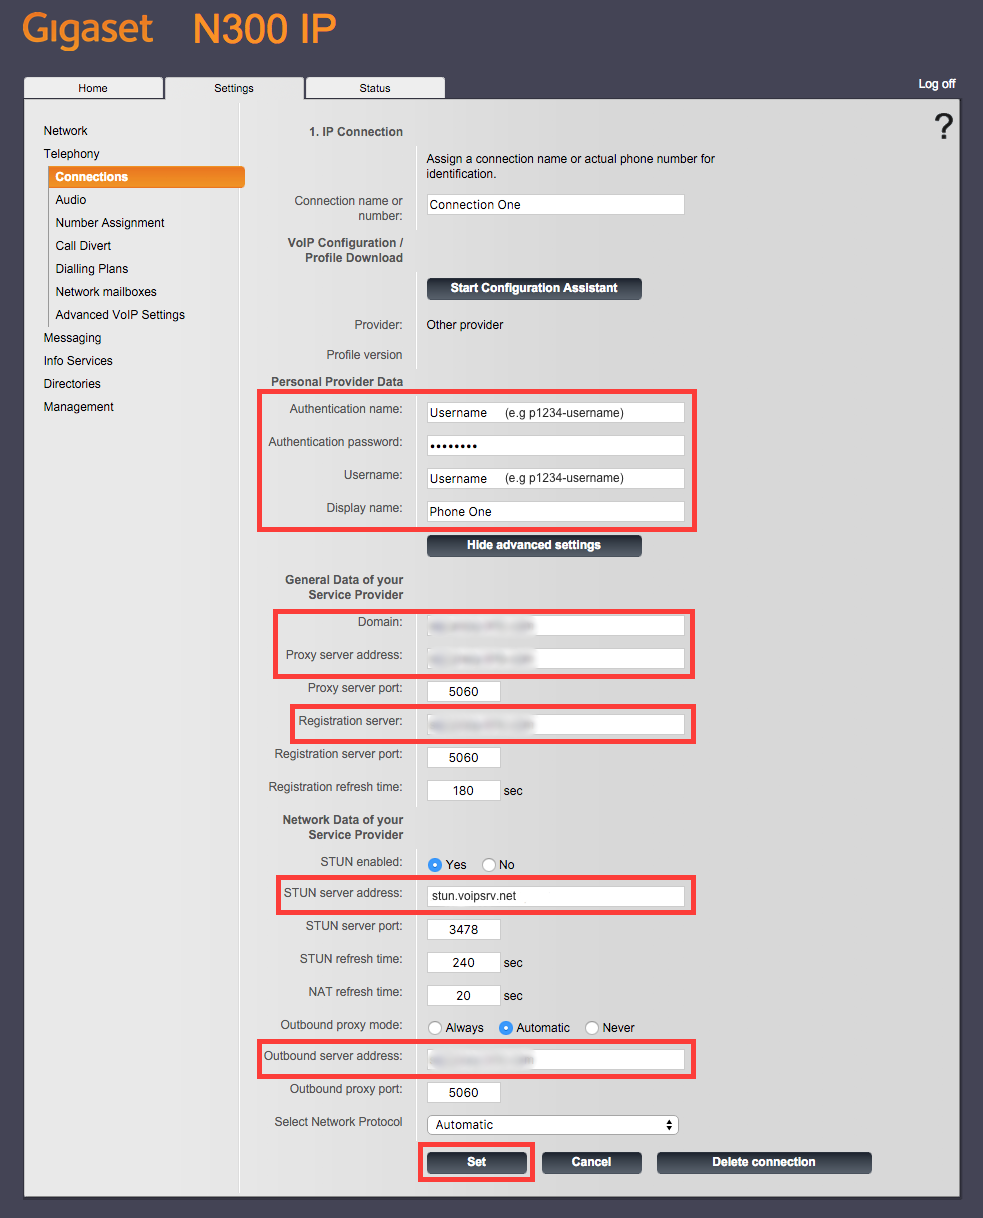
You will then see the form to enter the VoIP settings, click “Show advanced settings”. All the settings should remain unchanged, other than enabling STUN.
The information you will need to enter are the authentication name and password, which can be found within your control panel by clicking on the username of the extension, the username, which should be the same as the authentication name, and the display name, this can be anything you want.
The domain, proxy server address, registration server, and outbound server address should all be the SIP Proxy, which can be found within the control panel. The STUN server address should be the STUN Server, which can also be found within the control panel.
Once you have entered the information click “Set”.
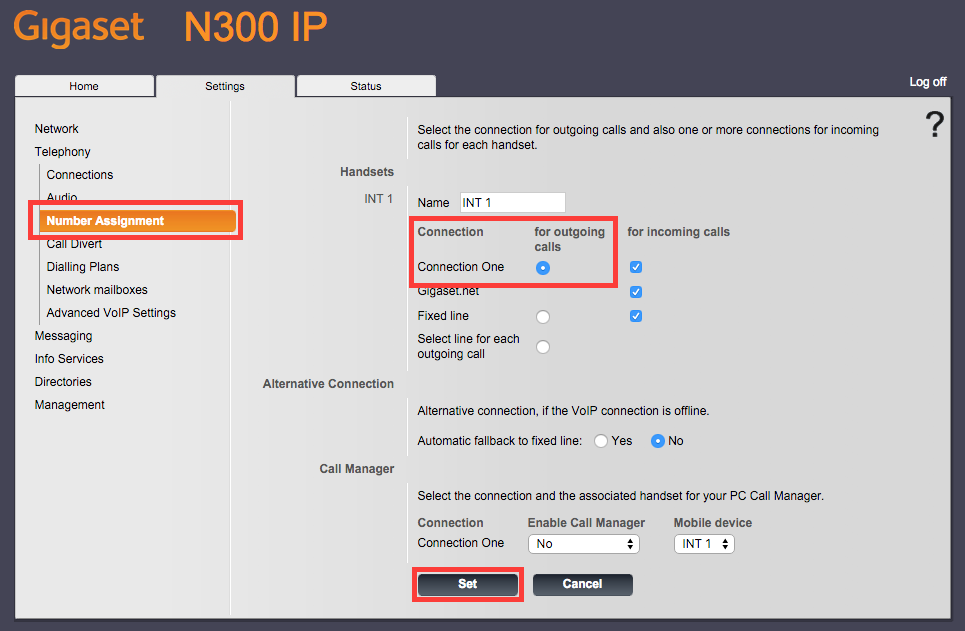
Finally click “Number Assignment”, which is also under the “Telephony” section of the left hand menu. You can then change the name of the handset, which is what is displayed on the handset, and set which connection you wish to use for outbound calls.
Select the display name you chose for your connection and click “Set” if you wish to make outbound calls using the VoIP connection you’ve just set up.