To setup your adapter, you will first need to
create an extension and have your
username, password, SIP proxy and STUN server addresses to hand.
The first step will be to login to your adapter via your browser. To obtain the IP address of the adapter, the following steps should be followed:
Plug-in adapter to network
Connect phone handset to device
Dial * * * and wait until you hear "Enter the menu option"
Enter 02
The device will then read back the IP which you should then enter into your browser connected to the same network and you will see a screen with a login prompt.
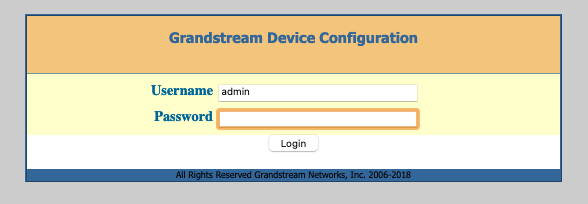
The default login details for the device should be both
admin for the username and password.
Once logged in, you'll be presented with a "Status"
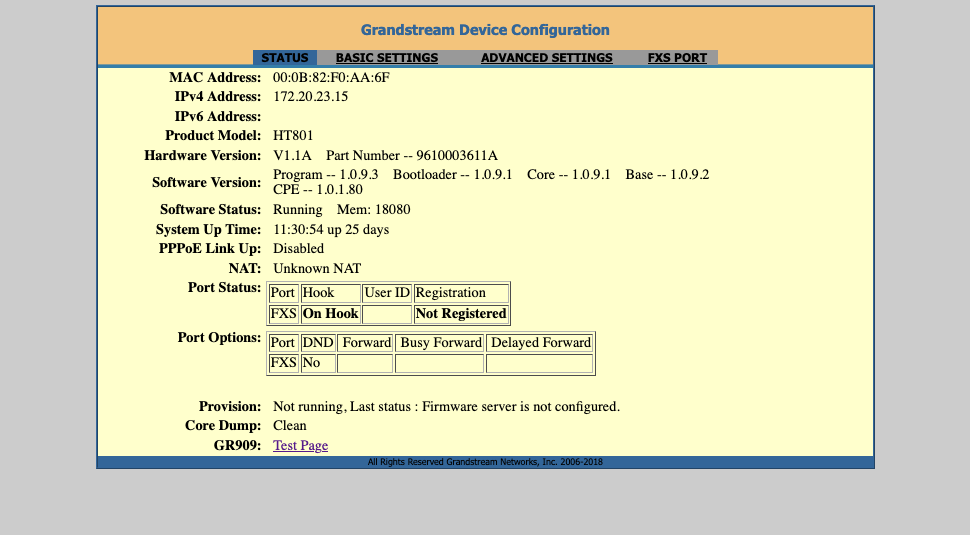
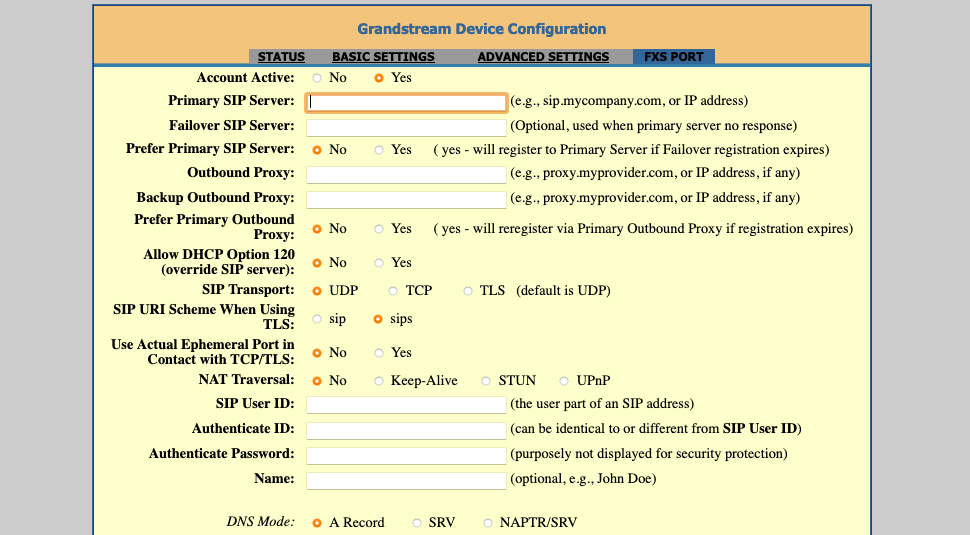
Click "FXS PORT" on the top menu and, you'll need to enter values from your extension information as mapped below.
Username > SIP User ID (i.e p1234-myusername)
Username > Authenticate ID (i.e p1234-myusername)
Password > Authenticate Password (your extension password)
SIP Proxy > Primary SIP Server (i.e sip-xxx.voipsrv.net)

Name (The descriptive name for the extension, such as "Home" or "Office")
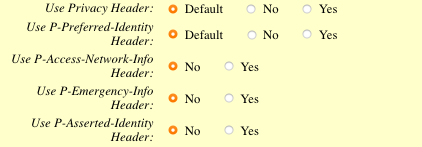
To then allow calls to be made on later firmware versions, the following settings should all be set to Default or No as shown.
Use Privacy Header:                       Default
Use P-Preferred-Identity Header:       Default
Use P-Access-Network-Info Header:       No
Use P-Emergency-Info Header:               No
Use P-Asserted-Identity Header:       No
Additionally, we recommend changing the dial plan (set within "
Dial Plan:") to one more suited to UK usage from the default.
{ 155 | 116xxx | 116111 | 116123 | 118xxx | 1471 | 157[1-2] | 08001111 | 0845464x | 0[1235789]xxxxxxxxx | 00xxx. | x+ | \+x+ | *x+ | *xx*x+ }
These changes should then be saved by clicking
Apply.
Moving down the page, there are a few settings recommended for UK use related to caller ID formatting.

SLIC Setting: UK
Caller ID Scheme: SIN 227 - BT
If you are on a NAT network, which is most common for home and office networks, you may need to adjust the settings which work best for you.
NAT Traversal: Keep-Alive or STUN
If set to STUN, please set "
STUN server is" on the ADVANCED SETTINGS page.
STUN server is: stun.voipsvr.net
To avoid getting anonymous calls that are direct to the ATA, you should disable unauthenticated calls. Some routers will pass through SIP data to devices behind a firewall without question allowing anyone to initiate an IP call with your device.
Allow Incoming SIP Messages from SIP Proxy Only: Yes
Once done, save this page also by clicking
Apply.
The adapter may then reboot and incoming and outgoing calls should work as expected.