The first thing you’ll need to do before you can setup time-based routing is to login to the voice control panel.
If you are unsure how to do so, you can follow these instructions:
Login to VoIP Control.
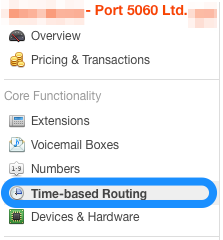
After you have logged in, select time-based routing from the left hand menu.
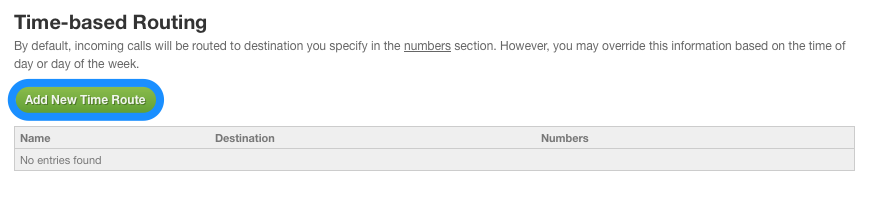
Now click on Add New Time Route.
You will now need to give your time-based route a name and select which time and days it applies.
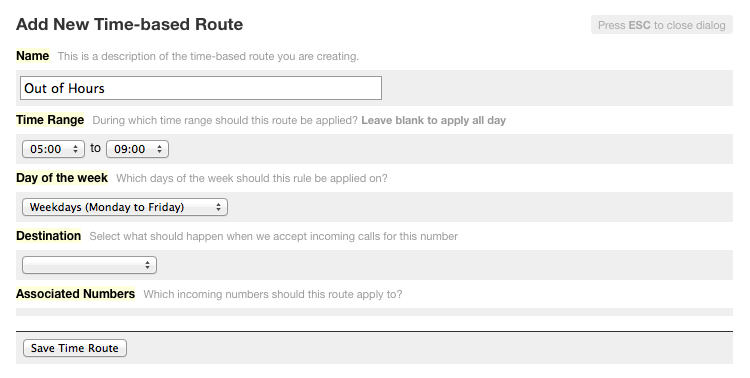
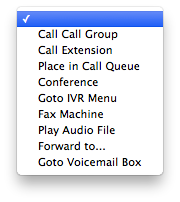
You can set the destination to multiple different things. In this example, I will use a pre-recorded message.
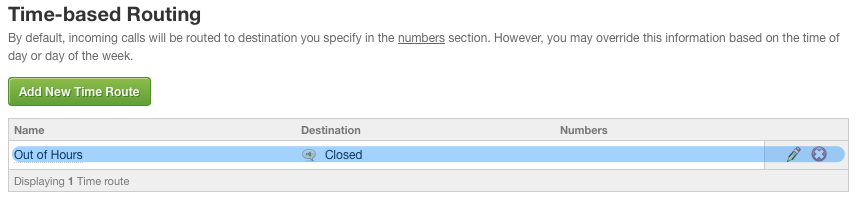
After you have saved your first time-based route, it will be displayed in the list.