The first thing you’ll need to do before you can setup is to login to the voice control panel.
If you are unsure how to do so, you can follow these instructions:
Login to VoIP Control.
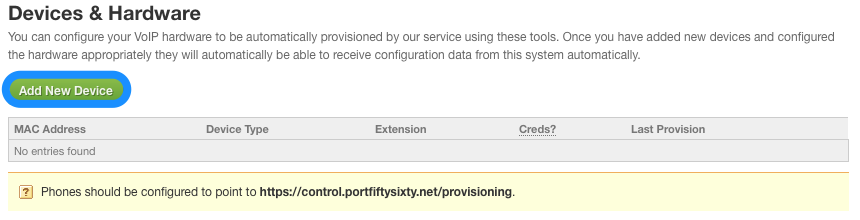
After you have logged in, click on Devices and Hardware in the menu on the left side.

Now, click on Add New Device.
You will now need to enter all the relevant information for that device, including its MAC address. The extension number must correspond to one that you have previously made.
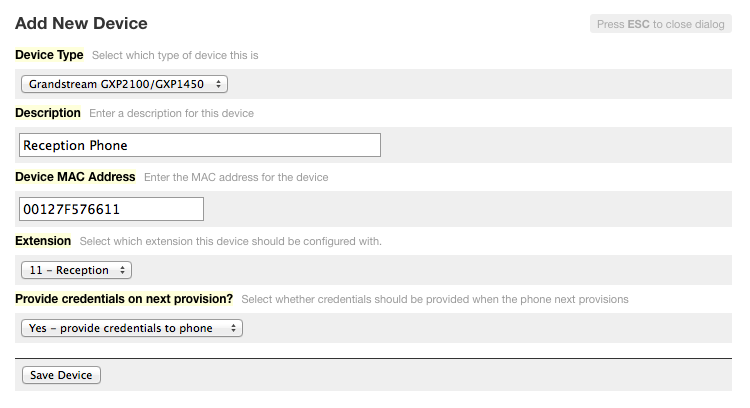
After saving, your device will appear in the list.

Within your device, you then need to point the remote configuration URL to
https://control.voipify.net/provisioning and this will then download all settings from our control panel. Your device may reboot when doing this.